LEAKING TRAILER REPAIR


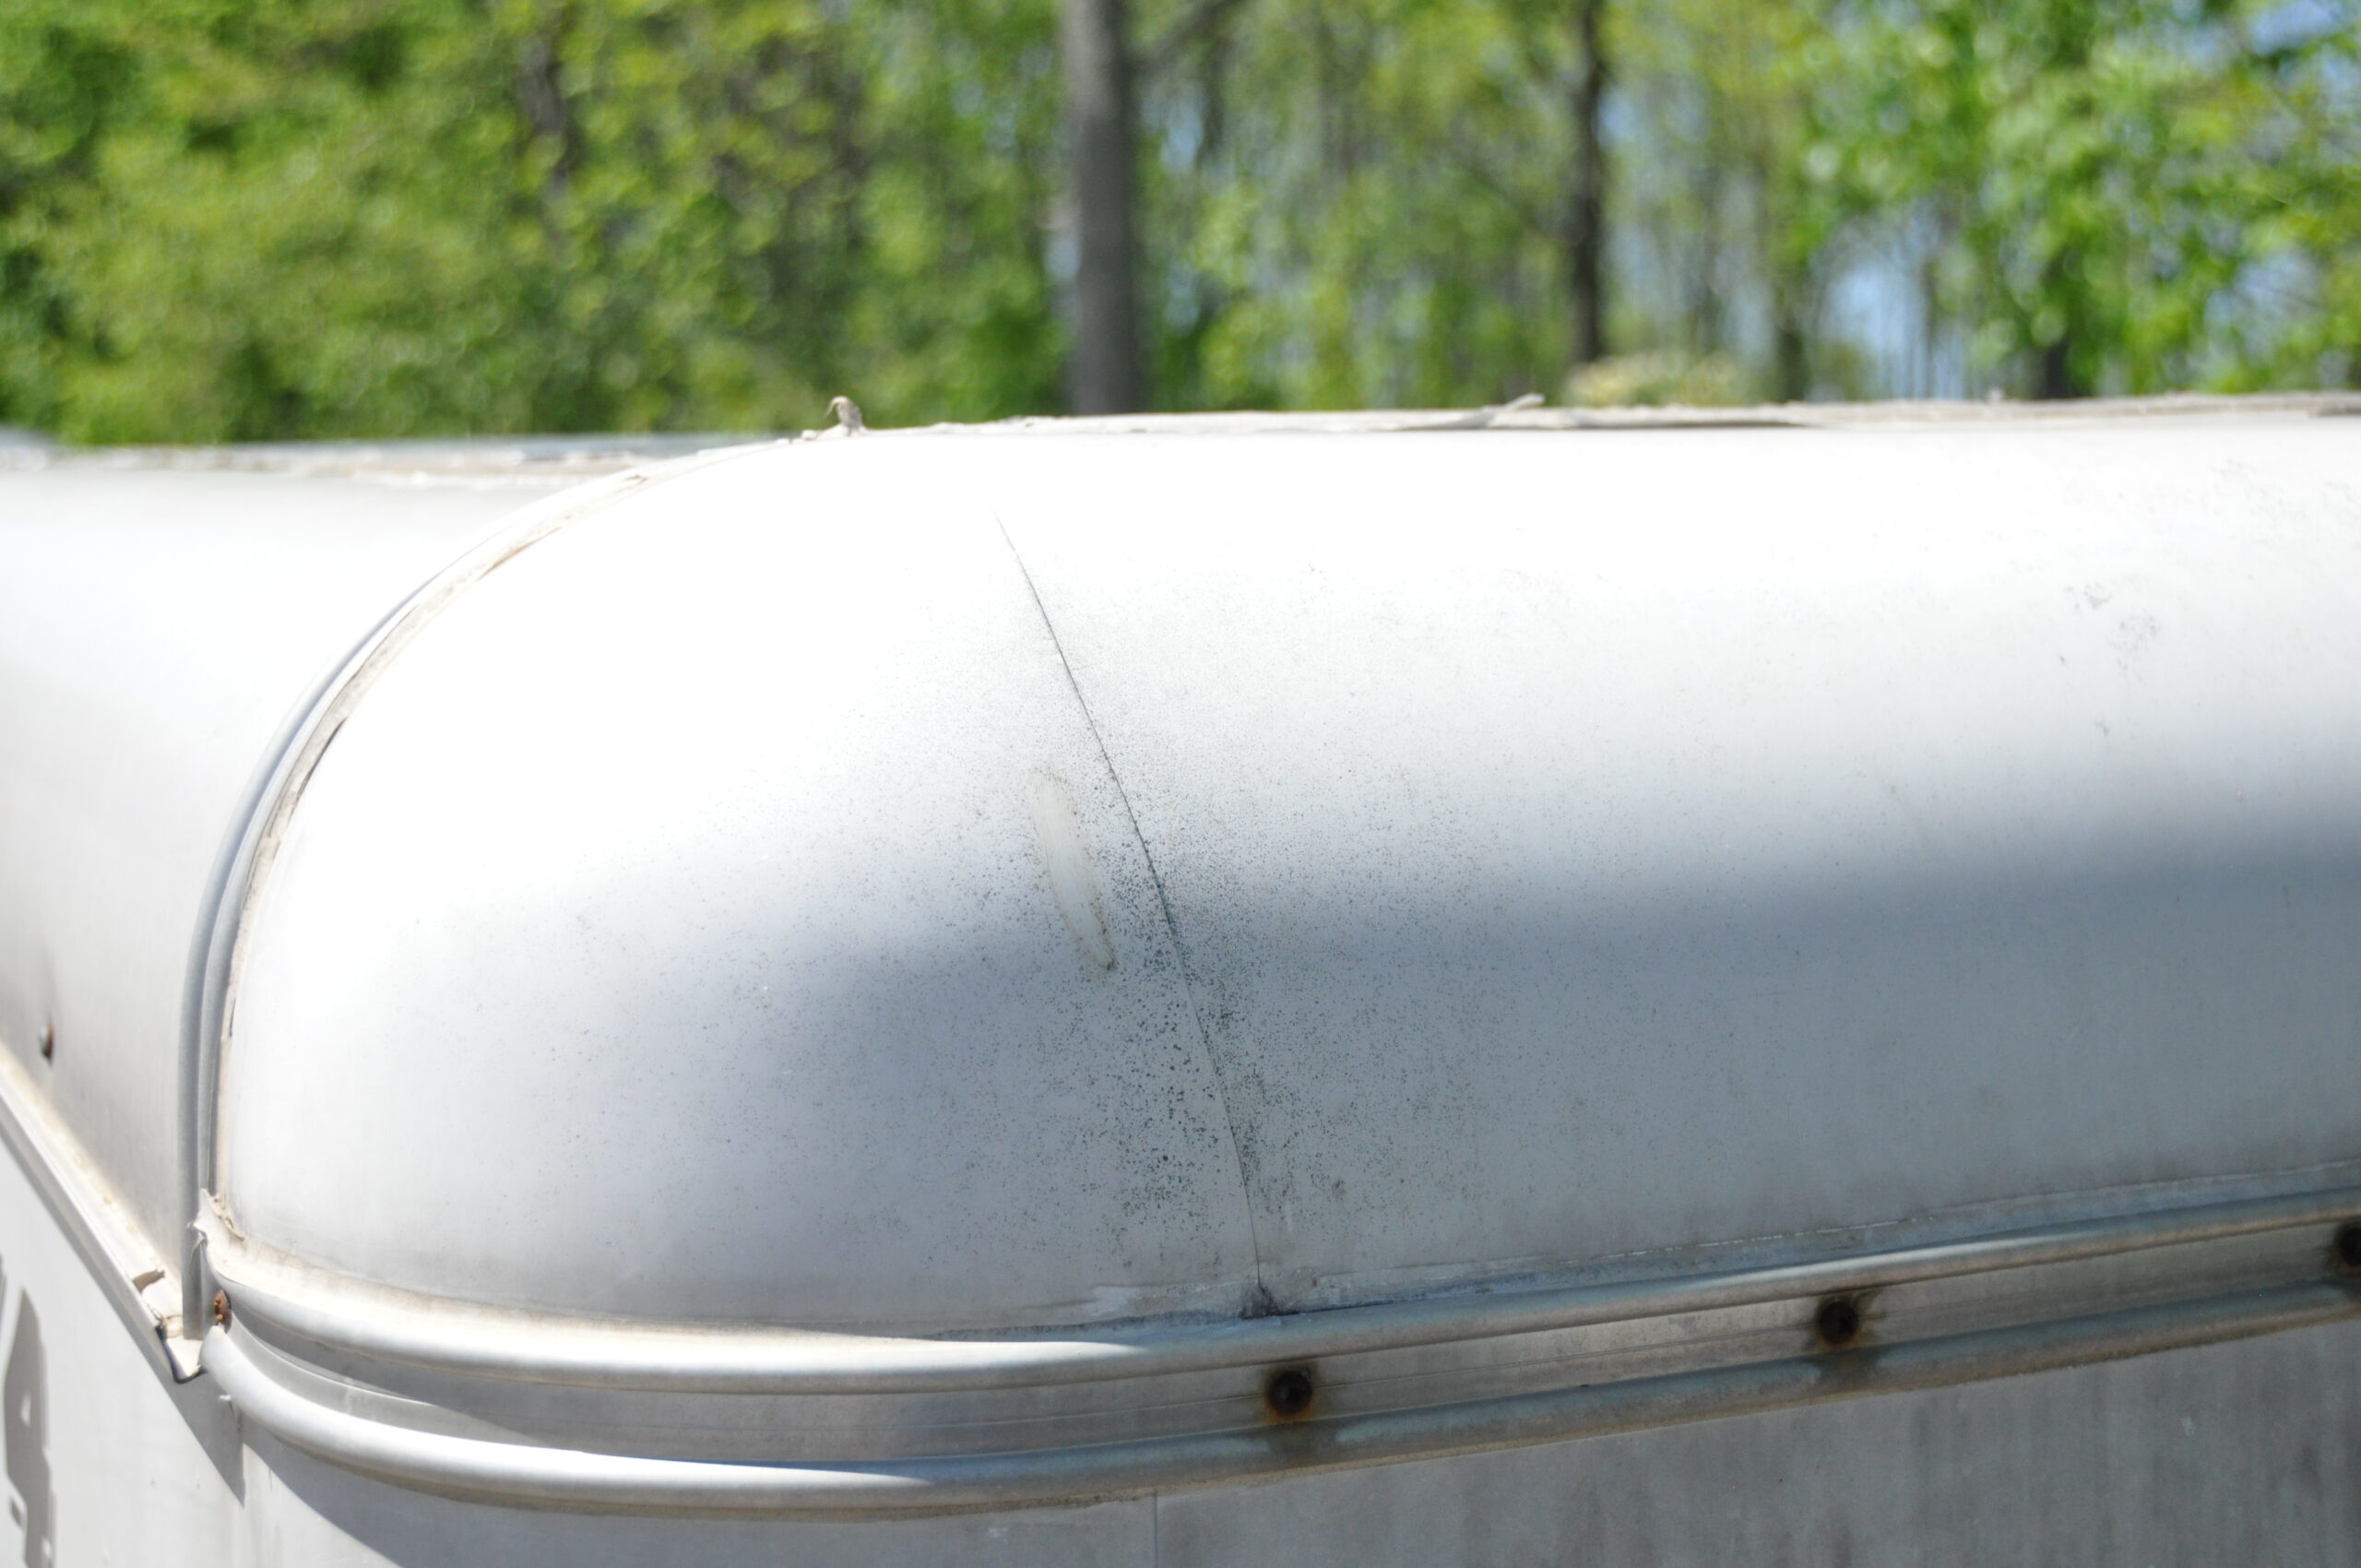
The roof on this trailer is leaking. After locating the source of the leak, they discovered a small hairline crack in the roof of the trailer. A perfect application for a rugged repair patch.
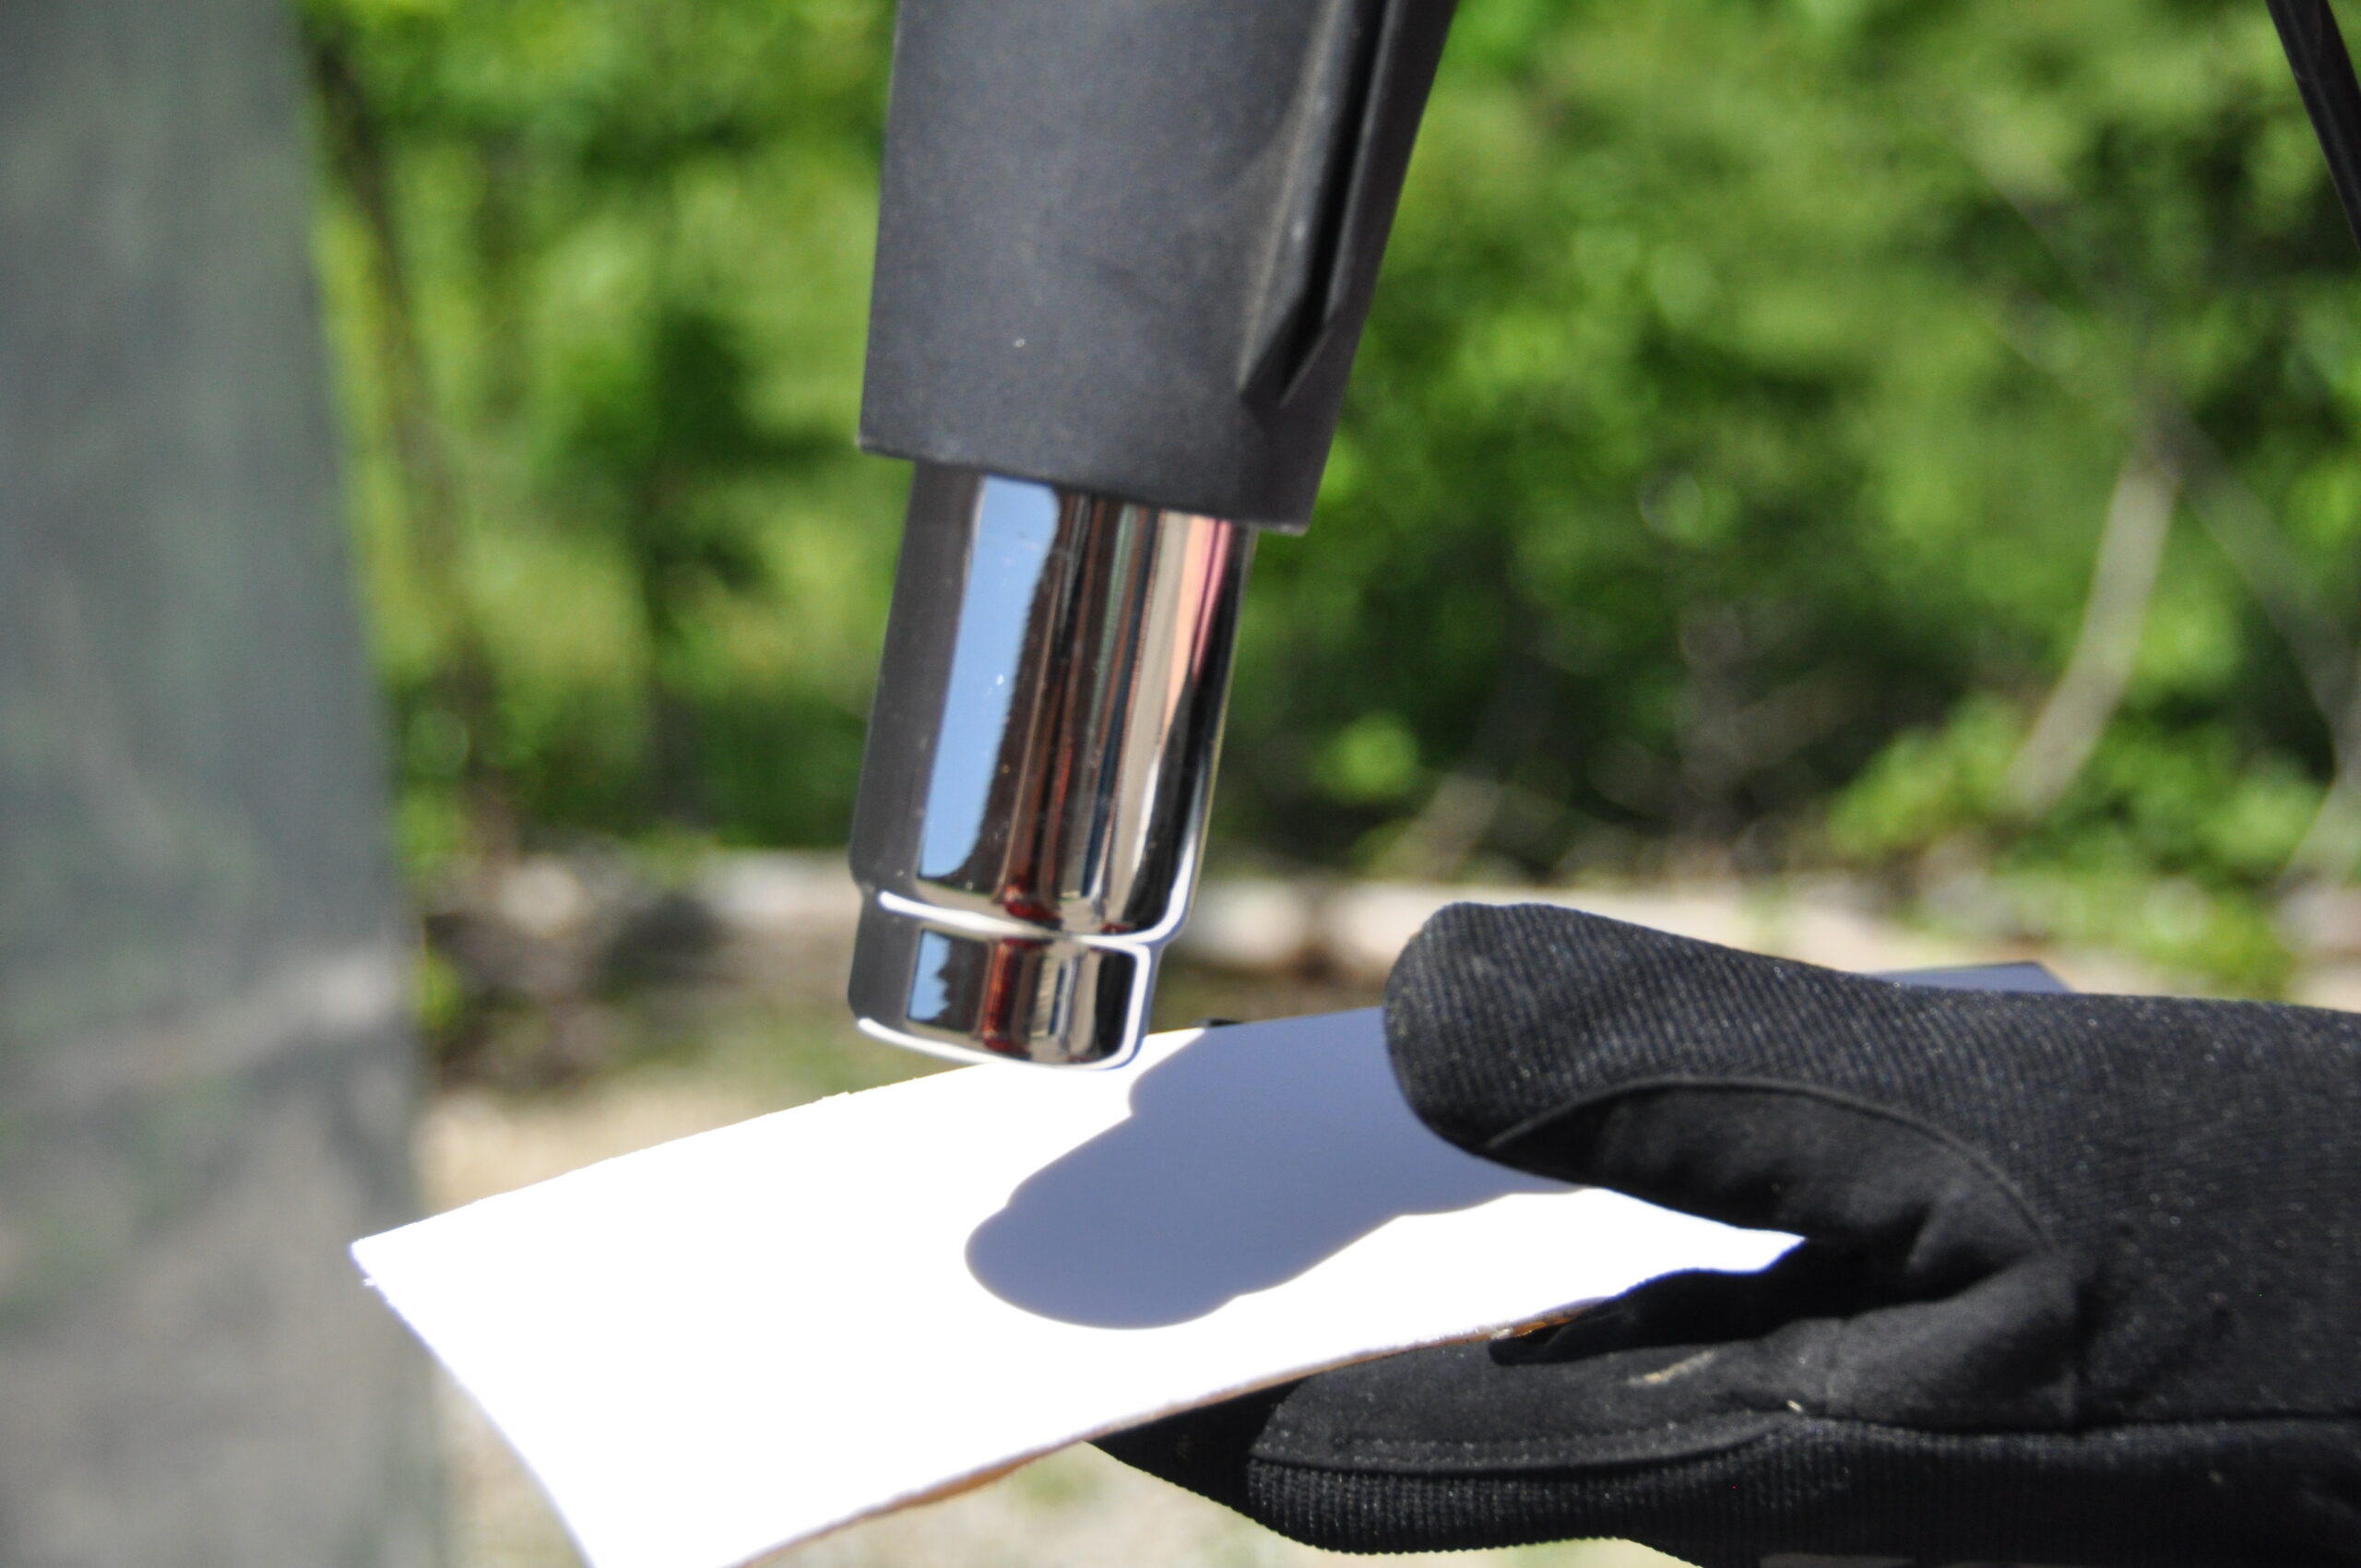
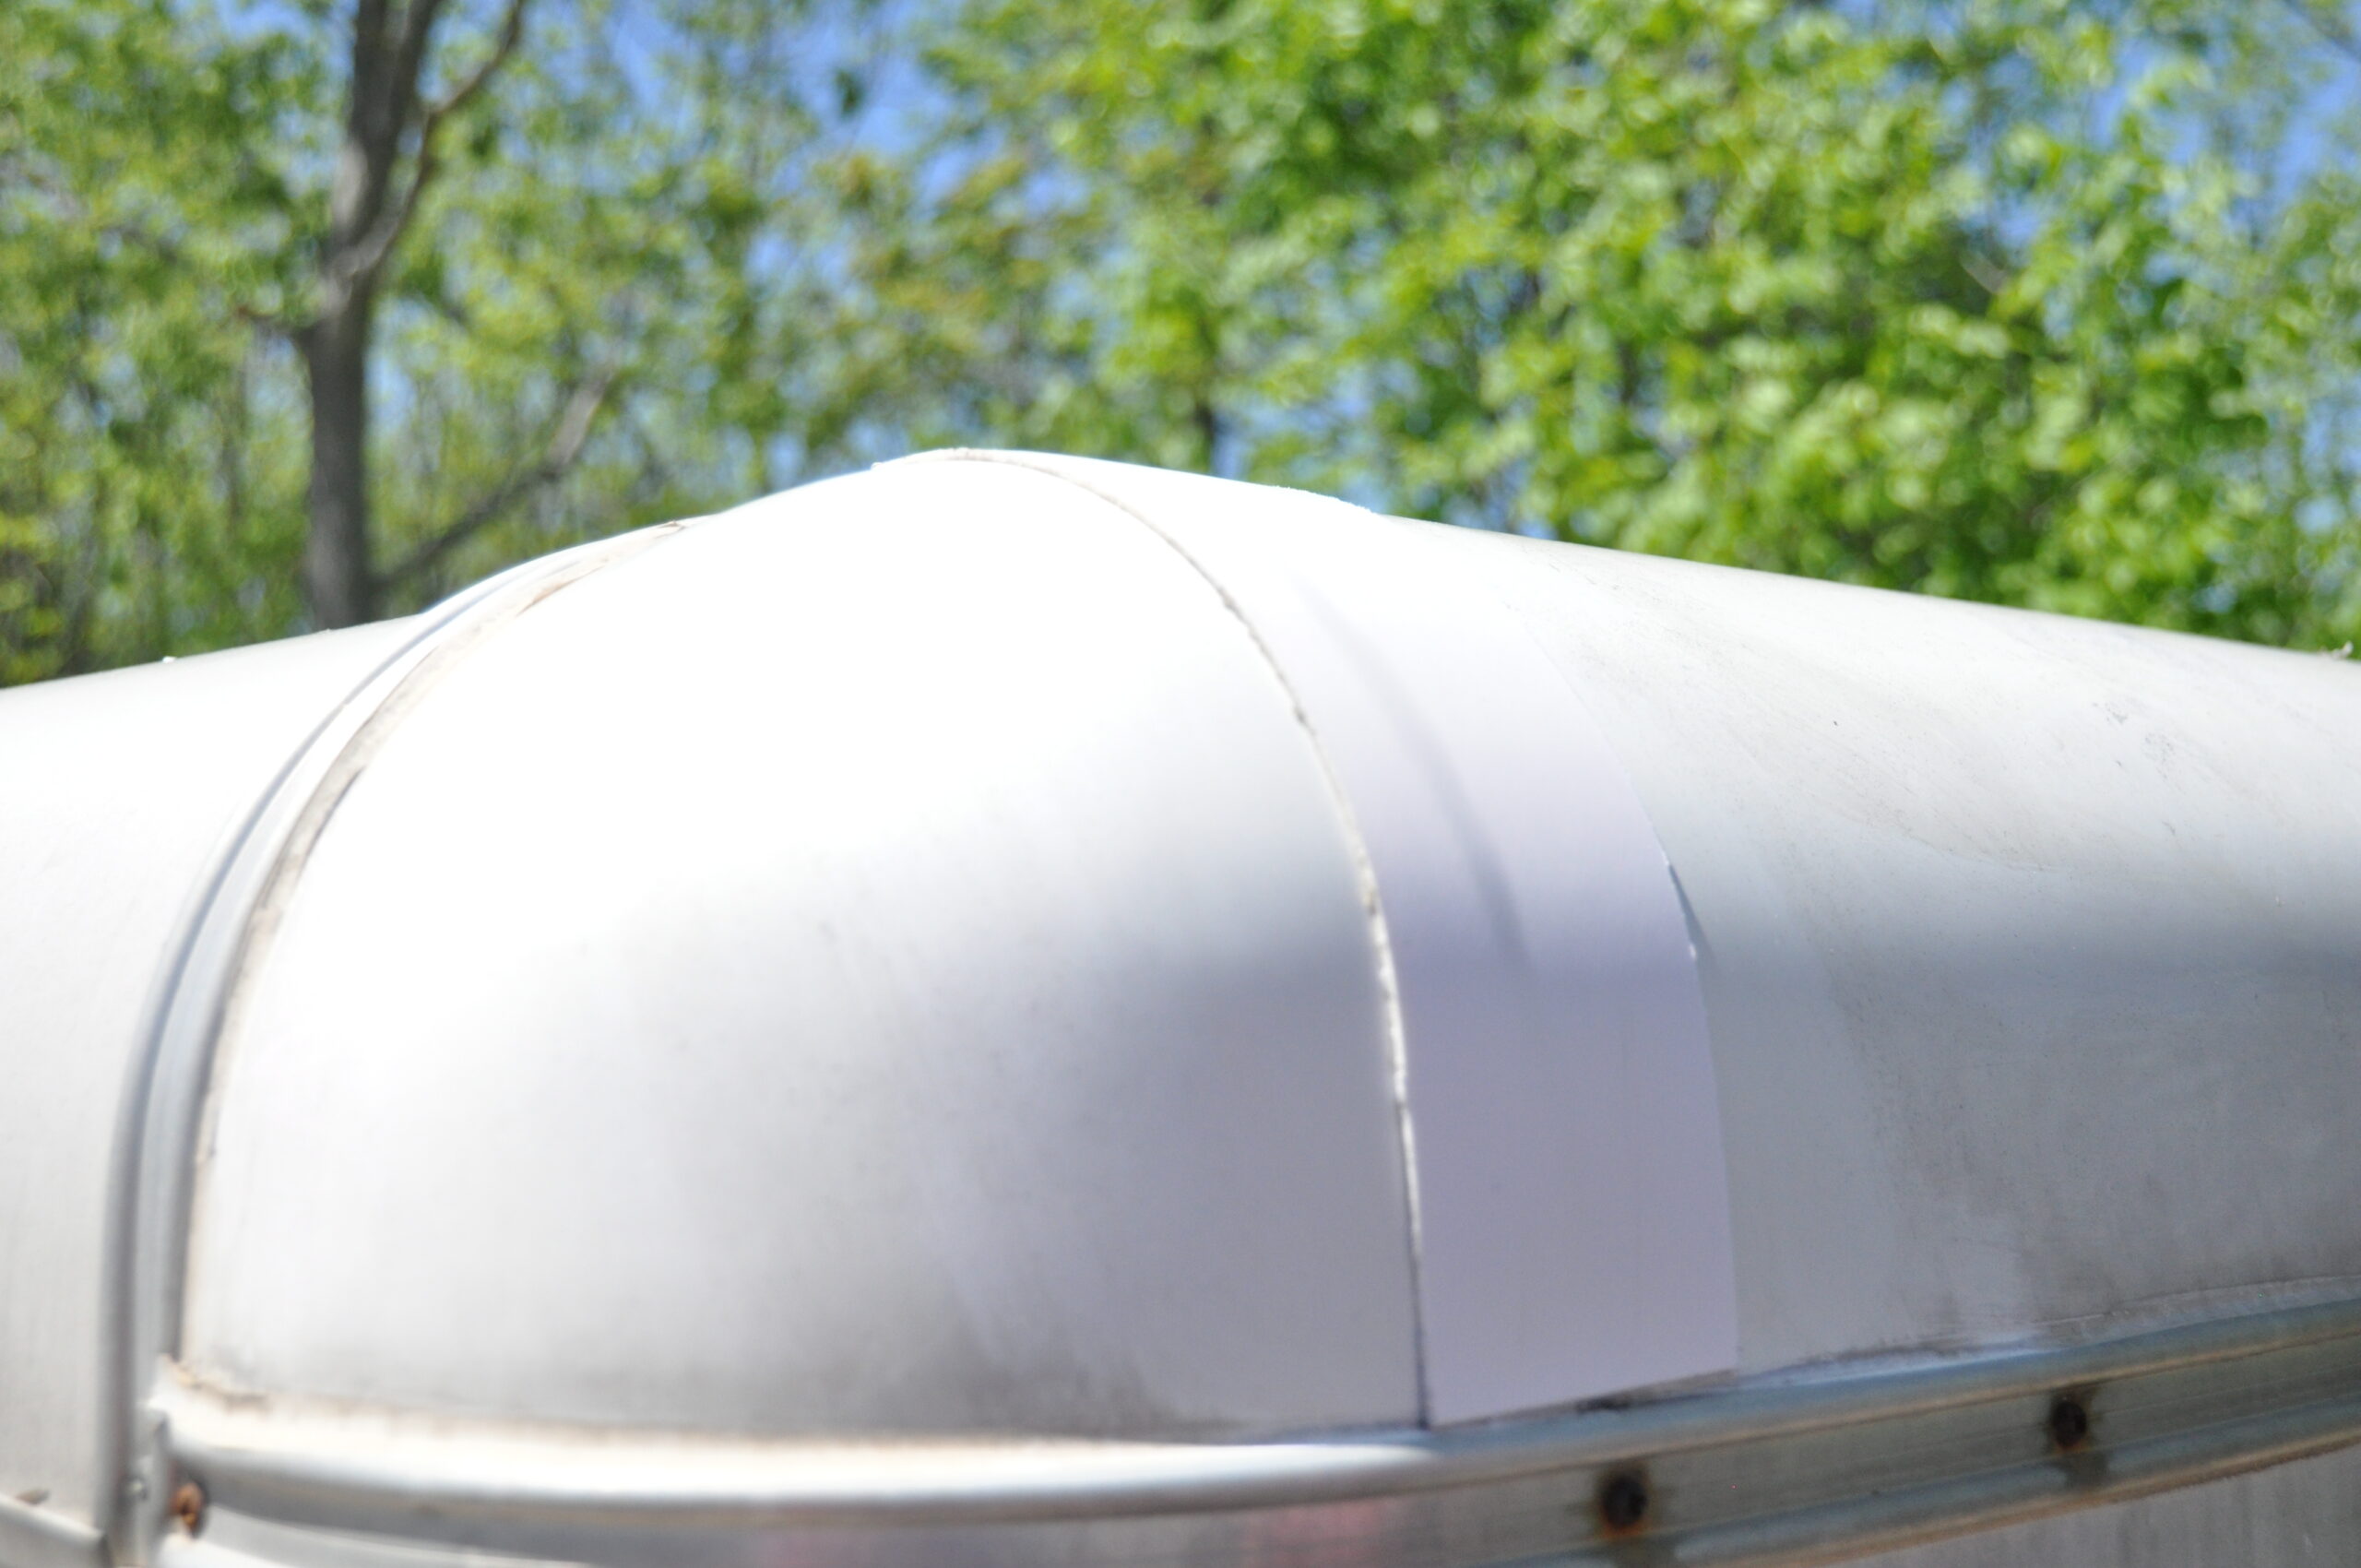
First, they heated the white rugged repair patch to make it flexible to properly wrap around the contour of the trailer roof. Once flexible, the plastic backing is removed exposing the strong adhesive, and the patch is placed onto the trailer. Since the patch is elastic, it perfectly matches the contour of the roof, making a watertight seal.
Once cooled, the patch returns to a rigid state, making it strong and durable.
